
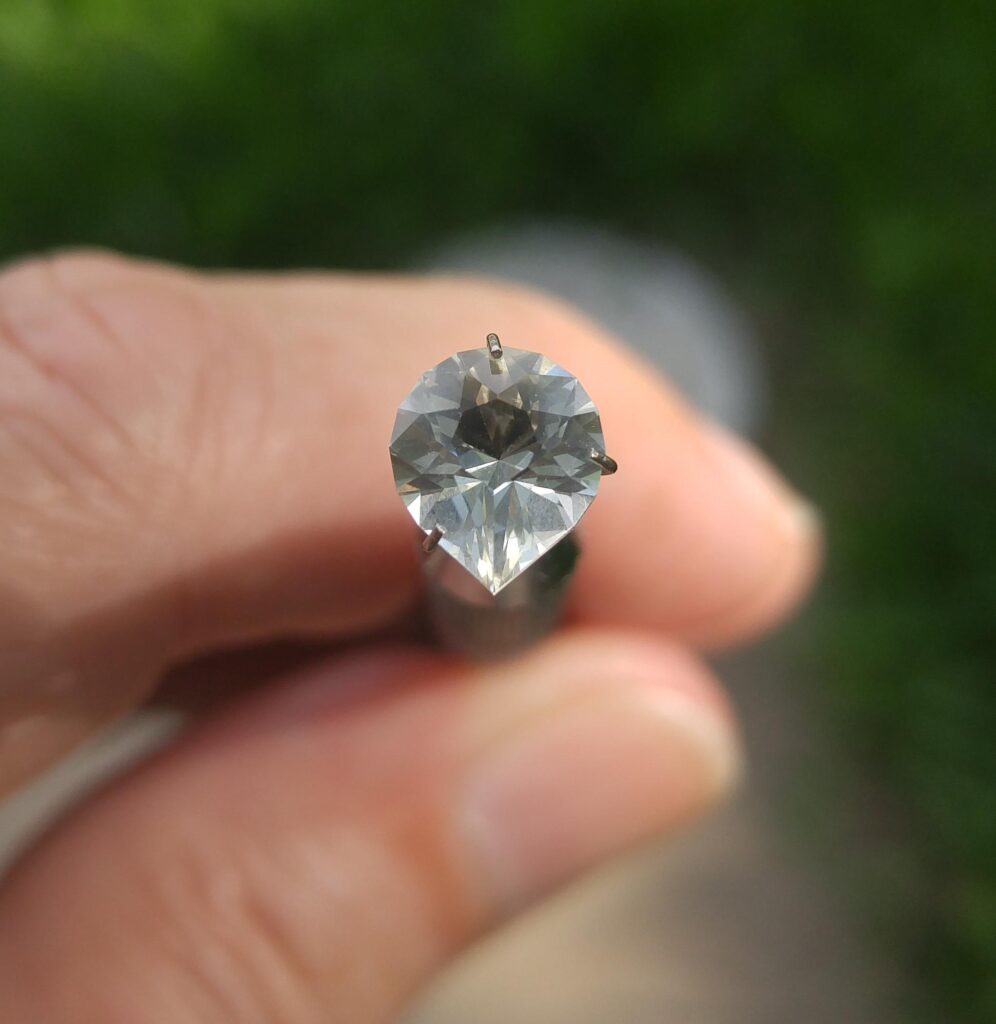
A Sunstone (Labradorite) cut in the Brilliant Pear design by Jeff R. Graham. Well, I should say “almost cut in the Brilliant Pear design”. The pavilion was cut virtually perfectly with all meets right on point, but apparently the transfer alignment was off and I had to burn up the cheater (a wheel on the faceting machine to push the angle just a smidgen in one direction or the other) to get meets even close on the crown.
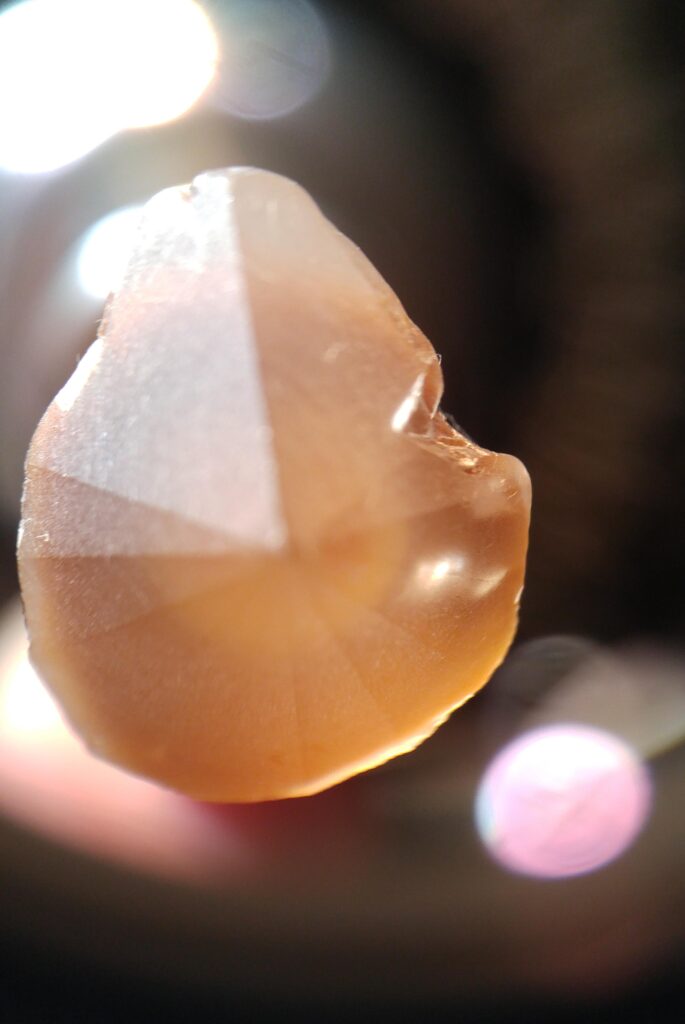
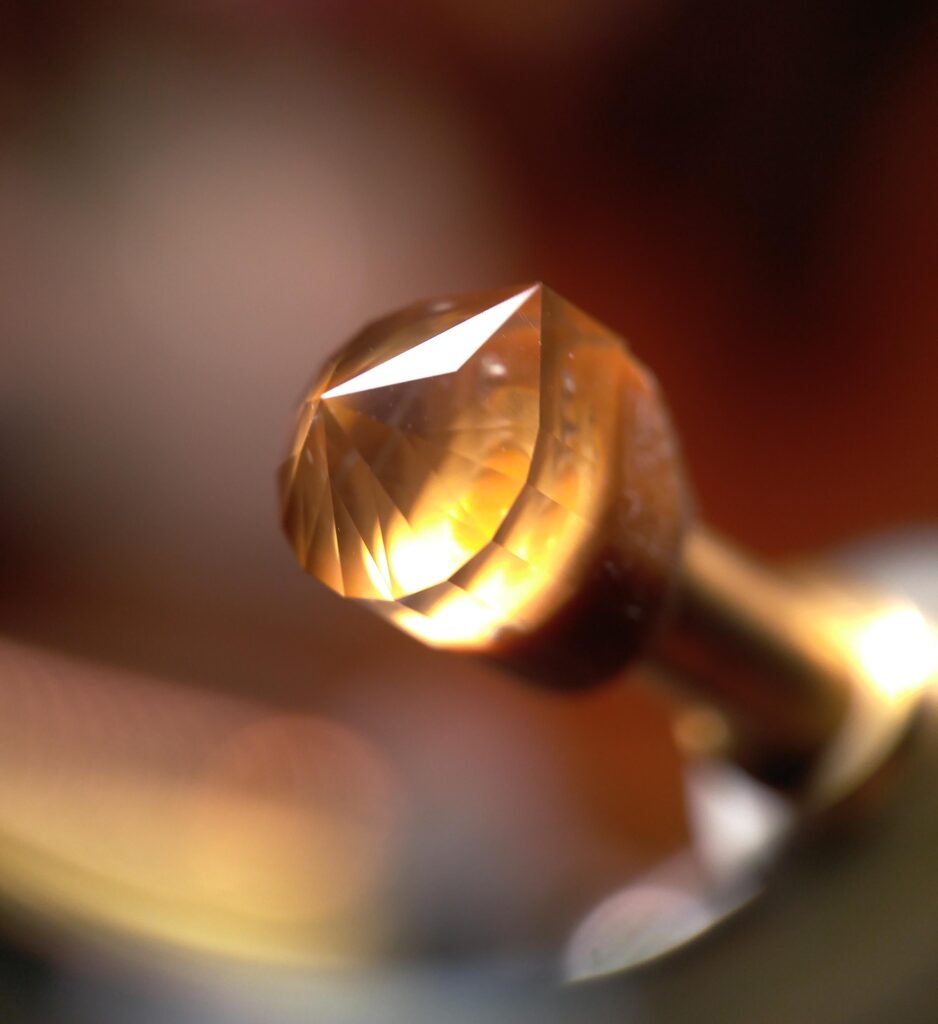
Below is the rough Sunstone I began with, on the dop and ready to start working it. It appears “golden” in color not because of the color of the stone (which is clear), but because the dops used on the faceting machine are made of brass.
Other things that can affect the color of the transparent stones when dopped are things such as the color of the dopping wax (I use a harder brown dopping wax for faceting (versus a green dopping wax for cabbing stones), and actually only use the brown wax for dopping the stone the first time (for faceting the pavilion).
You can see below that there was a very big “notch” that had broken off of the rough stone. Sometimes when you’re buying rough on the Internet you don’t have the option of inspecting individual pieces all the time, so if the price is good sometimes you just have to hope for the best. In this case, I decided a pear design would be the best choice, giving me the most usable material out of the stone.
When I transfer the stone to the second dop for faceting the crown, I usually use either 5-minute epoxy or super glue, a tip I picked up in Tom Herbst’s book (mentioned in my first post on faceting, The First Four Stones I Faceted). The reason behind that is that you have to get the wax hot enough to melt so it will stick to the stone, and if you use wax for the second dopping, the heat transferred through the stone may soften the wax of the first dop, allowing it to every so slightly alter the stone’s angle when using the transfer jig to accurately transfer the stone (and which could be disastrous in getting correct meets).
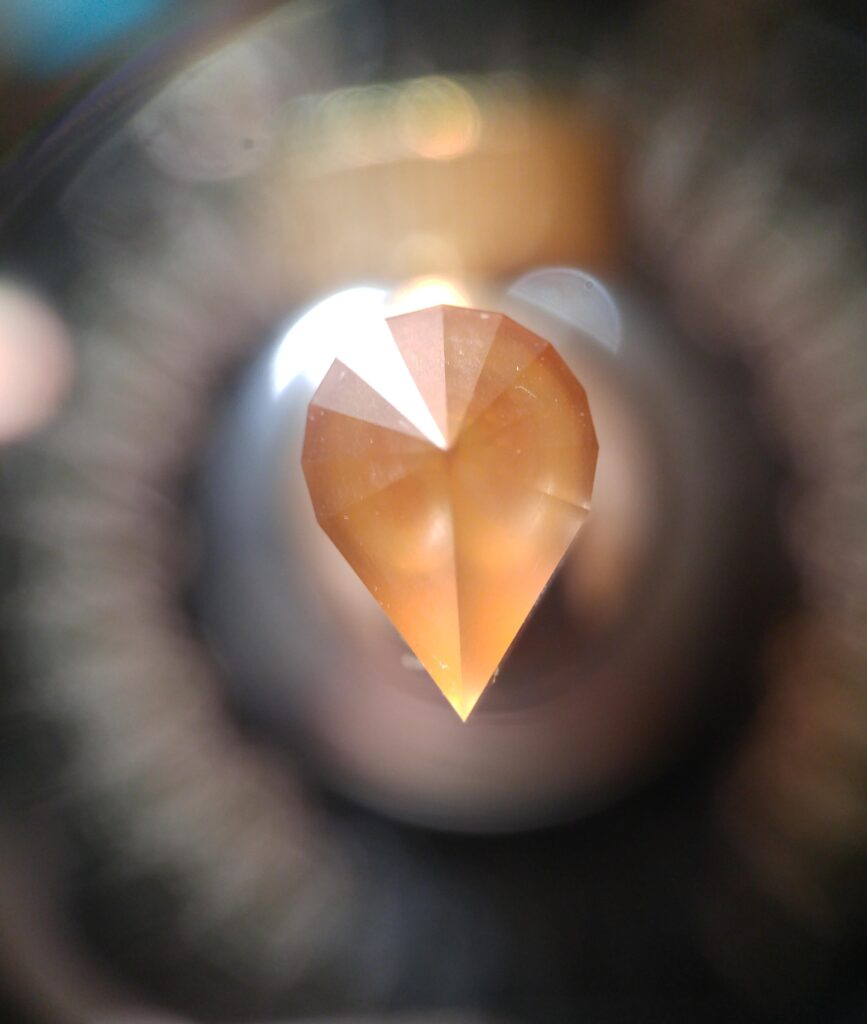
In the pic below, I’ve completed 12 of the 14 pavilion’s first facets. I was wishing that I could almost stop here, as it’s a very pretty teardrop design, but with faceted stones each facet in the design is critical in maximizing the play of light reflecting off each facet as it makes its way down into the pavilion and back up through the table. As I am only a beginner, I have a LONG way to go before I would be able to successfully create designs or modify existing designs that would improve those things, but the software application Gem Cut Studio mentioned in my previous post (“Smith Bar” Cubic Zirconium) can be an exceptional tool for that.
This is the stone with the first round of pavilion facets and girdle meets completed, which is where you have a very close approximation of what the finished stone’s size will be (providing the crown and table facets go well).
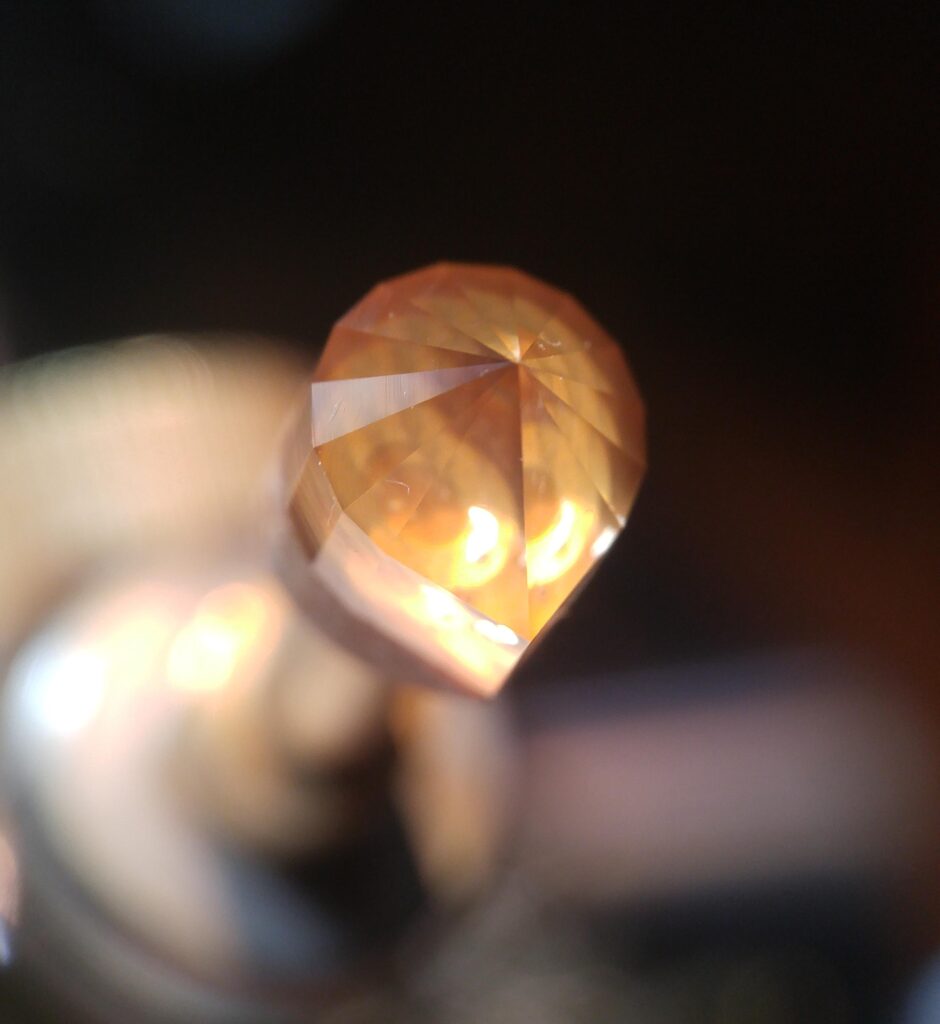
And lastly, here is a pic of the completed pavilion and girdle, with all grinding and polishing completed for all the facets cut…
Remember when I mentioned that I used brown dopping wax on the first dop, followed by either epoxy or super glue on the second dop to decrease the chance of messing up the transfer? Well, even that technique is not foolproof!
My problem was that in using a regular cone dop, when you look at the pavilion of a pear-shaped stone you will see that it won’t “fit” nicely in a cone dop really, so you have to be extra cautious in your alignment so that it seats well and level in the dop (there will be more epoxy on the round side of the stone than the side with the point, but you still need to make sure you get good adhesion all the way around).
Unfortunately I didn’t get any pics of my work on the crown. I mentioned that I had to “burn up the cheater (a wheel on the faceting machine to push the angle just a smidgen in one direction or the other) to get meets even close on the crown”, and that is why… I was just WAY too busy trying to make things meet correctly that I overlooked taking pictures. 😕
I did my best, but when it came to the table I knew I wasn’t going to meet each of the ‘C2/C3’ facets like it should, so I cut it small as I think it looks a little better without missed meets being so noticeable. This one kicked my butt, but on the next pear I’ll be cutting I will be taking extra care during the transfer to make sure I (hopefully) don’t have a repeat.
Here’s a close-up of the finished stone and if you look closely, you can see that the table facet does not meet the ‘C2/C3’ facets at their corner, as if I had taken the table grind down that low you would clearly see some corners were met, and others were not. It’s much easier to see one or two meets missed by a fraction than it is to see all meets missed by a wide margin. 😉
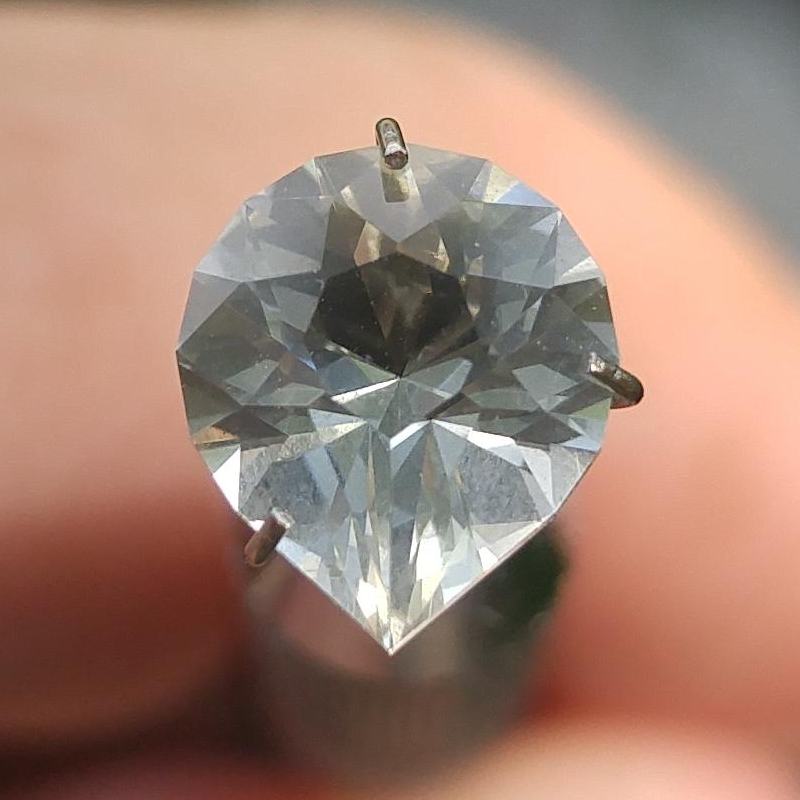
Anyway, the stone actually turned out pretty nice overall, and has plenty of sparkle, even with a table that’s not cut all the way to the main and star facet meets. The gem started out rough at 9.75 carats and finished up at exactly 1.00 carat (7 x 8.15 mm). Although there were inclusions that had to be worked around, an almost 90% loss of material certainly isn’t good, but it was the best I could do for this stone considering its original shape and the chunk that was missing from the get-go.
I did learn something however (after the fact), and that was when I was trying to find a good way of dopping pear-shaped stones I ran across a post on the United States Faceters Guild web site where someone mentioned they had good results using a V-dop with wax (so I could possibly start with epoxy or super glue on the first dop, and end with wax on the second dop), and another had mentioned getting a second set of cone dops and using a triangle needle file, cutting a V-notch on one side to accommodate the pear-shaped stone’s extended point. I might have to try one of those two techniques next time!