CabKing 6″ Cabbing Machine Review

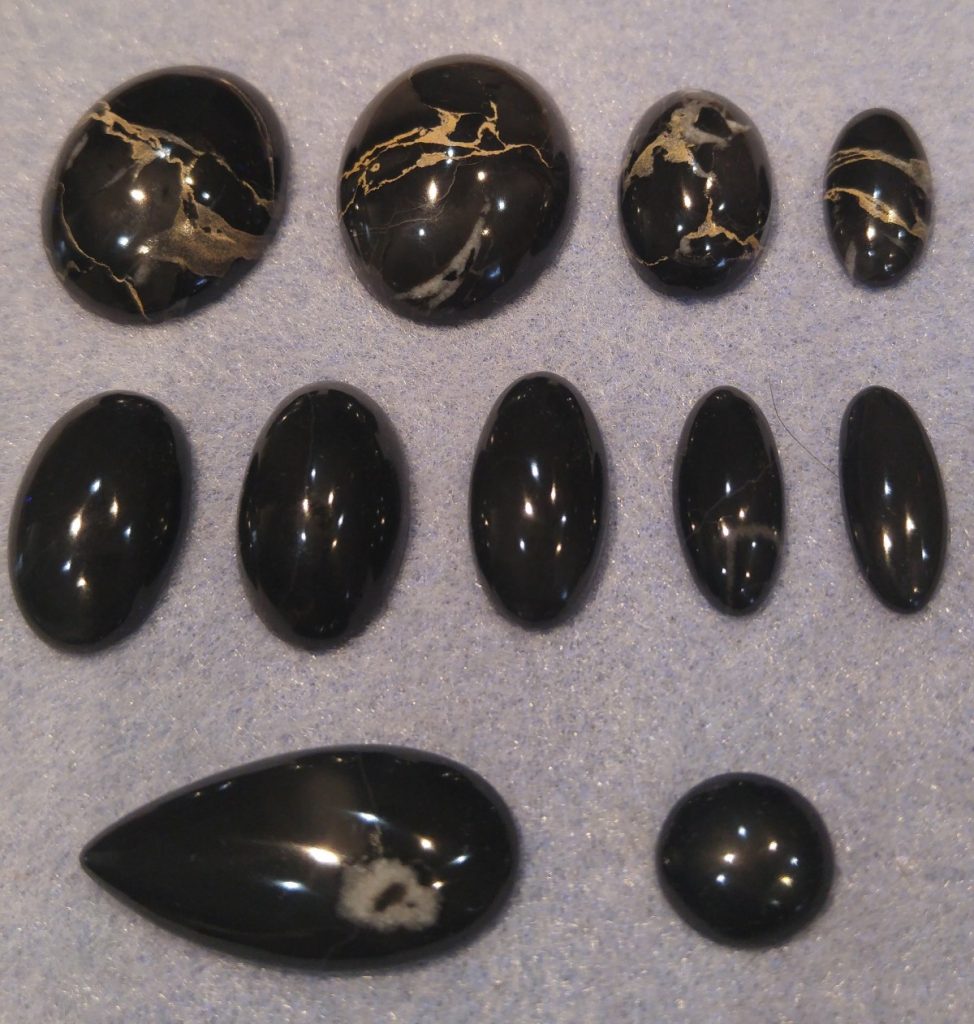
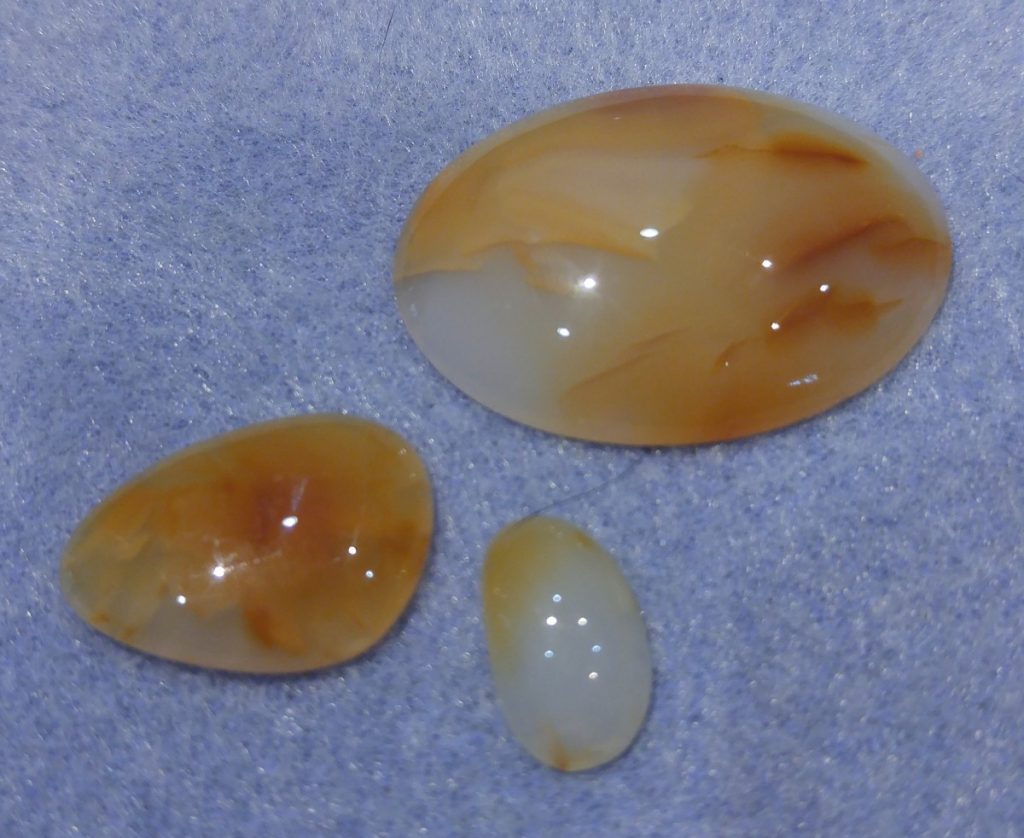
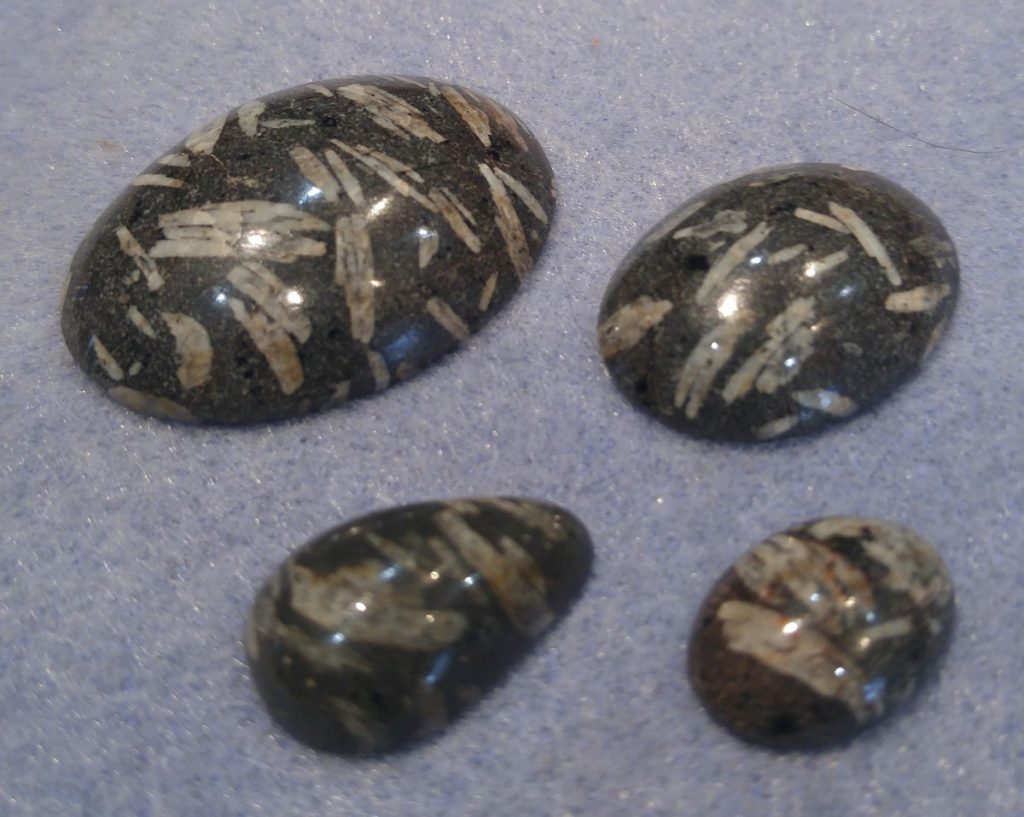
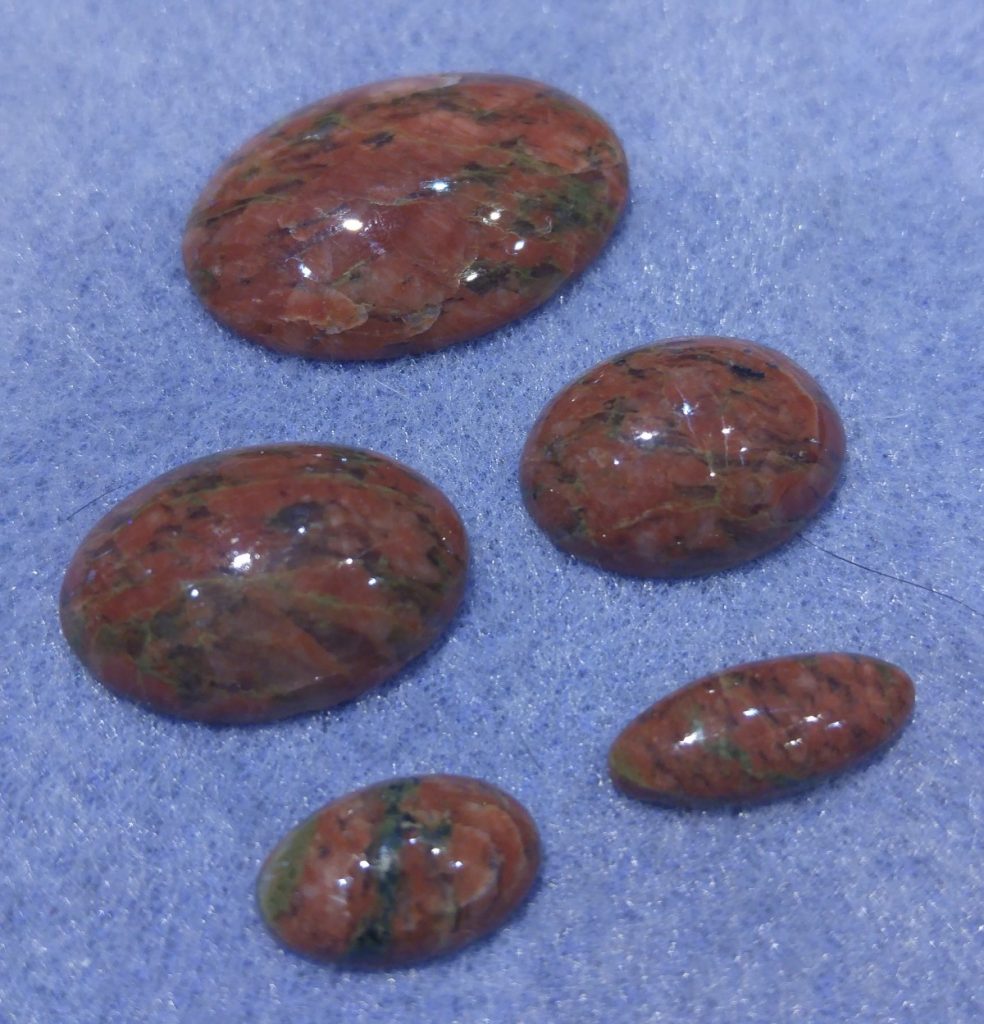
Now that I’ve worked with the CabKing 6″ cabbing machine for a few months, I figured I would give it a review of sorts. There are several companies that make quality cabbing equipment, and CabKing is one of them. Although I’m no expert on cabbing machines by any stretch, so far this machine has operated flawlessly and I’ve thoroughly enjoyed using the CabKing machine to cab stones. I have been able to inspect every detail, work with its operation and use the accessories that come with it, and can at least offer my thoughts on the CabKing 6″ and its operation.

First, the 1/4 HP, 1,800 RPM direct drive motor on the 6″ machine has absolutely no problem spinning the wheels and discs attached, and runs extremely smooth and quiet. The motor actually runs as quiet or quieter than the motor of a polishing unit I use on jewelry. That unit also has a blower to filter the air and polishing compound coming off the wheels that I always have turned on (and makes most of the noise on that machine). So, depending on what grinding wheel I’m using on the cabbing machine, the jewelry polisher can be even louder at times. Actually, the water pump makes the most noise of all I think, but it too does its job very well.

Butterfly Jasper Hearts

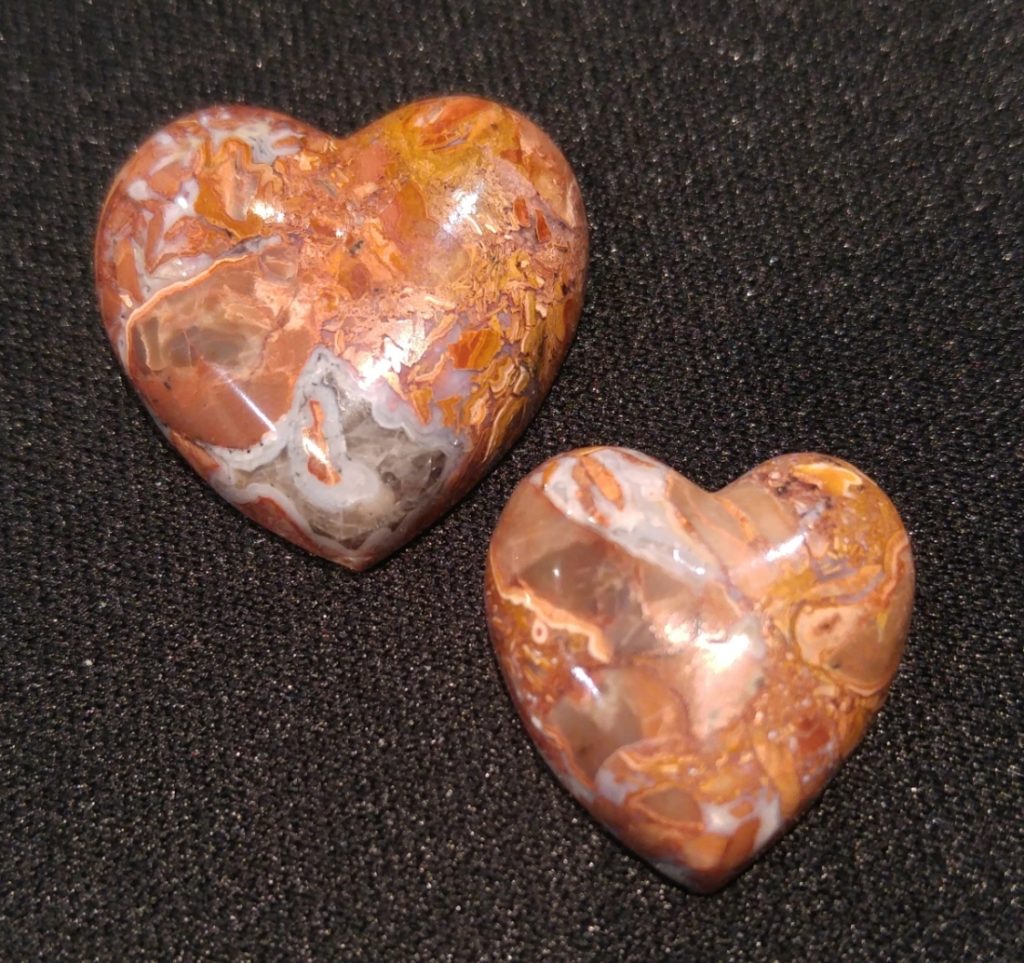
“…cabbing the occasional large stone, heart or window on a piece that needs the extra spacing is something that can certainly be done on the 6″ machine without much trouble at all.”

In researching cabbing machines before I settled on the CabKing 6”, I had read where some feel a 1/4 HP motor isn’t efficient for driving six wheels on a cabbing machine, and the user might experience a slow-down of the motor when pressing the stone against the wheel or disc. I found absolutely no proof of that on the CabKing 6″ machine.

I certainly haven’t experienced any slowing down of the motor at all, even when pressing much harder against the wheels than necessary. I think a large part of that theory with some may be more for machines using Silicon Carbide wheels/discs perhaps. With diamond wheels and discs the diamond usually does the work very effectively and there is no need to press the stone against the wheel or disc hard at all. In fact, pressing too hard only decreases the life of the diamond wheel/disc by dislodging the grit embedded in the electroplating or resin, and they won’t cut the stone any faster, either.

The motor does get very hot (there’s even a warning label on it to not touch the motor housing when it’s been running), but since it’s out of the way of any working areas, and that is considered normal operation, there’s not really a problem with it that I can see.

Some may fault the CabKing 6″ machine when compared to their 8″ machine as not being as “robust”, which is somewhat true to an extent. The 8″ machine has larger wheels and a more powerful motor, but is also quite a bit more expensive as well (almost double the price). The wheels on the 8″ machine are spaced further apart, allowing for more room between wheels for working with larger stones, or cabbing hearts and other designs where you need room to work on the edge of the wheels, but unless working with larger material or cabbing those designs is frequently done, the 6″ machine will do everything the 8″ machine can do. It just might take a bit longer, having to remove a wheel and use spacers to give you that room, swapping out wheels as needed.

Window Faces
Window faces on Turritella and Sodalite specimens rocks ground and polished with 6″ flat laps.

If the overall durability of both machines is on par with each other, aside from larger wheels with more spacing between them, and a 3/4 HP motor instead of a 1/4 HP motor, the only real difference between the 6″ and 8″ packages is that two sets of resin diamond wheels are provided with the 8″ machine whereas a single set is provided with the 6″ machine, and a foot switch to power on/off the water pump. As quality resin wheels usually last for many, many stones, if CabKing didn’t include a second set of wheels with their 8″ machine the price could likely be dropped by about $400 (which can be a lot when budgeting for a new machine).

If there is a need to cab stones that are too large or of a shape that can’t be worked with the more narrow wheel spacing on the 6″ machine, they can be accommodated by removing a wheel and using the extra supplied wheel spacers in its place. Swapping out wheels with spacers takes a little time (though not much, really), but cabbing the occasional large stone, heart or window on a piece that needs the extra spacing is something that can certainly be done on the 6″ machine without much trouble at all.

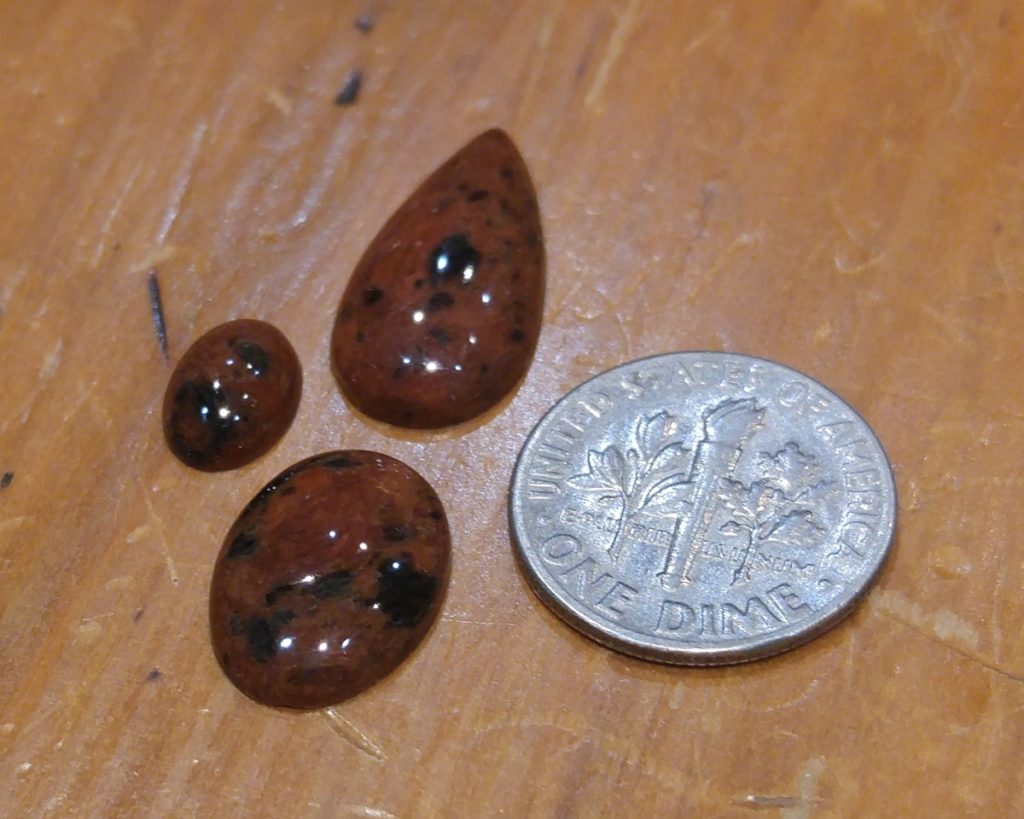
There are plenty of businesses that use the 6″ machines in their work on a daily bases, cabbing hundreds of stones a day for production (attesting to their durability). The 8″ wheels may cost less in the long run with regards to wear by having a larger surface area, but the tighter radius of the 6″ wheels can allow for less material waste on small stones, especially those such as turquoise which are usually cabbed free-form to conserve as much stone as possible.

One of the features I like best about the CabKing cabbing machines is that the water supplied to the grinding wheels and laps to keep them wet, the stones cool and wash away the swarf is not recycled water sitting in the tray full of rock mud delivered by bubblers, but fresh, clean water delivered from a water pump out of a bucket or container. This not only keeps contamination from particles that could cause unwanted scratches low, but also greatly decreases the amount of rock particles (such as silica) residing in water spray or mist coming off the wheels from entering the air and posing a health risk. Control knobs for each wheel and end-lap allow for precisely managing the water flow, from a trickle to steady stream.

Another feature I like about the CabKing cabbing machines (though many other companies include this as well), is the ability to use polishing and diamond flat lap discs on the end of the wheel shafts of each arbor. By using a polishing disc on the end of the wheels, the cost of having to purchase a separate polishing unit to complete the cabbing process is saved. The polishing discs spin at speedy 1,800 RPM since the machine doesn’t have variable speed, which is fast for polishing some stones (especially if heat-sensitive), but taking it slow and working more in the center of the disc hasn’t been an issue (at least not yet… anything can happen).

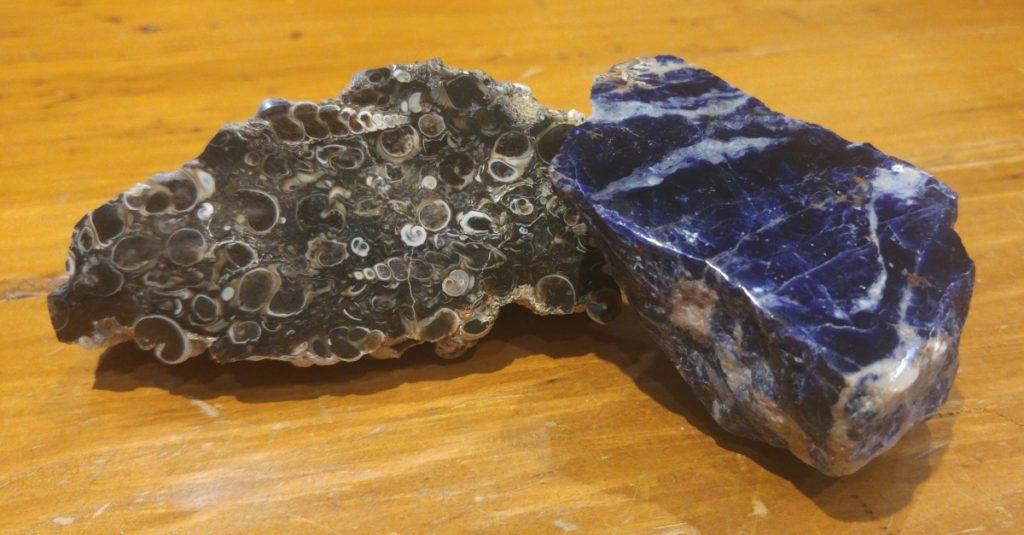
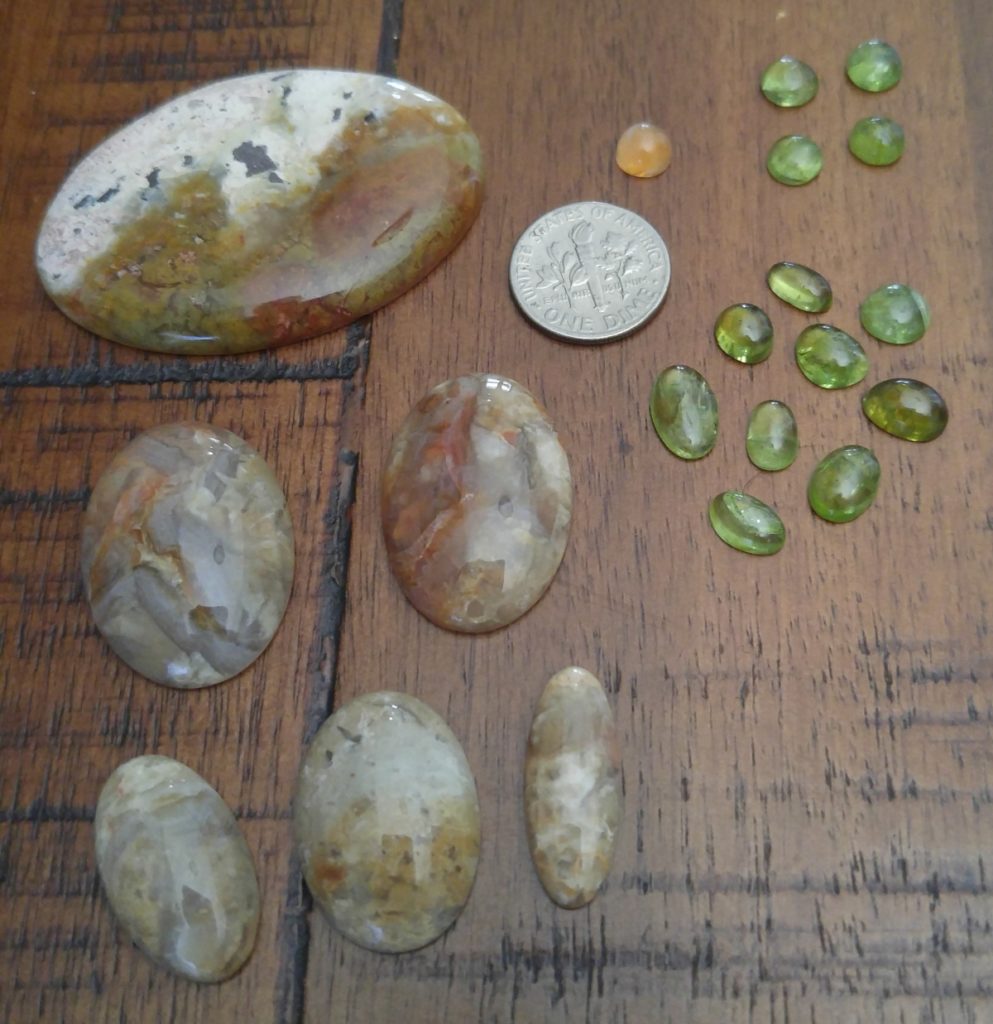
Right along with polishing discs are diamond flat laps. A 360-grit diamond lap comes with the unit, which is great for ensuring flat bottoms on rough stones. Other grits of diamond laps are widely available, allowing for grinding and polishing flat surfaces through every stage. This is an added plus for rock collectors, allowing “windows” to be ground and polished on select stone and mineral samples, often greatly enhancing their appearance.

For those on a tight budget, CabKing also makes a trim saw attachment for their machines. By removing the wheel housing on the right-hand side of the machine along with the three wheels mounted (which slides off the arbor as one piece, wheels attached), it can be easily swapped out with an arbor sleeve having an 8″ trim saw blade. A base with tray, cutting surfaces and splash shield for the blade are included, making the unit even more effective as an “all-in-one” machine for trimming rough rock and slabs (or cutting small slabs) as well as any grinding and polishing needed to get a stone to its final finish.

Coprolite, Green Moss Agate, Peridot & Mexican Fire Agate
Clockwise from bottom-left: Coprolite, Green Moss Agate, Mexican Fire Agate & Peridot.

Overall, I’m extremely pleased with the quality, durability and operation that the CabKing 6” cabbing machine has shown, and expect it to last for many,, many years. The only parts that would need replacement on occasion (aside from the wheels and discs, which is expected with any machine) would be the 1/2″ drainage tubing for the trays, or the 1/8″ water feed tubing. The drainage tubing is rather thin to be more flexible, but both are standard tubing sizes that can be bought at just about any hardware store if needed. The other parts of the water feed system are durable plastic that can be easily cleaned with a pipe cleaner (CabKing even supplies one of those!), so other than normal cleaning and maintenance, the machine is built to last.

If you’ve made it this far, I thank you for visiting and reading this review. I feel the CabKing 6″ cabbing machine was a solid purchase of quality equipment that will allow me create quality cabochons, as both a hobby or business, now and far into the future.

Mahogany Obsidian & Butterfly Jasper Hearts

Here are a few cabs I turned out this past weekend…

Mahogany Obsidian
Mahogany Obsidian Cabs

Mahogany Obsidian
First were some small ovals and a teardrop cab created from pieces that had broke off a 1/8″ slab of Mahogany Obsidian that I have. The “mahogany” color in the obsidian is due to hematite or limonite (iron oxide) mixed in with the silica, creating blotches or sometimes even flowing waves of the rusty color along with the black obsidian (which is usually made of up of minerals such as magnetite, hornblende, pyroxene, plagioclase and biotite).

As the slab was thin, either low-dome or small cabs are really the only choices I can make out of that material. And, as the slab had already fractured creating several smaller pieces, I used few of the smallest ones and made the cabs pictured above. I included a dime in the picture as a reference to give you an idea of their size.

Butterfly Jasper Hearts
Butterfly Jasper Heart Cabs

Butterfly Jasper Hearts
Above are a couple hearts I cabbed out of some Butterfly Jasper that is mined in Mexico. A pretty rock with brecciated jasper and quartz mixed throughout, the hearts were something Kathy had wanted me to give a shot at trying. I had never cabbed hearts before, though I knew how, so I was eager to give it a try myself. I was pleased that these turned out not bad at all! The top heart is 26x26mm, and the smaller bottom heart is 20x20mm.

One of the things that I had heard on various YouTube videos regarding the CabKing 6″ cabbing machine when I was doing my pre-purchase research was that the wheels were not spaced far enough apart to cab large stones, or work designs such as hearts (where you need to use the edge of the wheel for grinding/polishing the “V” in the heart). Yes, the CabKing 8″ machine spaces the wheels further apart, accommodating those needs quite well, but that does not mean the 6″ machine is not capable of working such material.

So, unless you are needing to frequently work large stones or create hearts and other designs that require working on the edge of the wheels, don’t think that it can’t be done on the 6″ machine (which is also a LOT lower in price than the 8″ machine). The trick? Use the additional wheel spacers supplied with your 6″ machine to take the place of one of the wheels when that extra space is needed.

It will take you a bit longer to work your stones of course, as you will need to swap out wheels to progress through the grits since you are working with just two wheels on an arbor at a time. But, it’s not a hard process to do, and doesn’t take that long, really. In working the obsidian, I forewent the 80-grit wheel and only formed the cabs lightly on the 220-grit wheel to keep any chipping to a minimum, then on to the 280-grit, so the “swapping-out” of wheels was only needed on the other arbor when it came time to cycle through the 600, 1200 and 3000-grit wheels.

If you only find yourself on occasion needing to work with large stones or designs that need more than the default 1/2″ spacing between the wheels as is normal with the 6″ wheel machine, a little swapping around with the wheels and included spacers can get you the room you need. Yes, it takes a little more work, but as these cabs demonstrate, it’s certainly do-able!

Maury Mountain Moss Agate

Here are a several cabochons of Maury Mountain Moss Agate from Oregon that I cabbed this past weekend. The colors in this stone are phenomenal, ranging from reds to yellows and green with some really crazy moss mixed with quartz druzy pockets (or “vugs” as they are often called) here and there.

The slab that these stones came from was a small one of about 3″x4″, but yielded eight nice cabs. One 30x22mm oval with a druzy pocket, two 20x15mm ovals, 24x14mm oval, a round cabochon the size of a nickel, and three free-forms… a 7.4x21mm teardrop, a 9.5×28.5mm kite and a 16.75×30.3mm quadrilateral which also had a druzy pocket.

Maury Mtn. Moss Agate
Maury Mountain Moss Agate Oval and Quadrilateral

The two cabochons above have the pockets of quartz druzy, with the oval having the largest pocket that extends to just the backside of the stone. It’s hard to see in the photos above, but the sparkling crystals in the pockets definitely add dimension and character to the stones.

Maury Mtn. Moss Agate
Maury Mountain Moss Agate Round, Teardrop and Oval

The three cabochons above have some really nice red moss floating in with the translucent quartz. The oval on the right has some nice fortification banding in the translucent milky quartz.

Maury Mtn. Moss Agate
Maury Mountain Moss Agate Ovals and Kite

And the three cabochons above were taken near the edge of the slab. The first oval shows some of the uniqueness in Maury Mountain Moss Agate with the mix of yellows and shades of green along with the red moss.

Overall I was quite pleased with the results, and think I got some really nice cabs out of the small slab with hardly any waste. I still have some small trimmings that I can form into tiny cabs for earrings or stacker rings, so there was very little of the slab that will not be used eventually.

I’m having an absolute blast on the CabKing machine. As the machine is built to use both polishing discs as well as flat laps on either end of the wheels, it’s actually quite versatile for someone on a limited budget. It came with both polishing and flat lap discs, and the 360-grit flat lap diamond disc that it came with is great for flattening rough stone, but eventually I will want to get at least 600, 1200 and perhaps even a 3000 grit flat laps for polishing faces on some of the rocks we have in our rock and mineral collection.

The diamond flat laps run about $34-$43 each, but when you have a natural rock specimen with a polished window on it, the beauty really comes out. I did this to one of the smaller pieces of Turritella Agate that we had, though the face was not perfectly flat in order to bring it to full polish (extremely difficult to get flat faces polished with wheels I understand, and I can see why). But still, the difference between a chunk of rough compared to one with a polished window where the details just shine so clearly (no pun intended) is incredible.

Cabbing Time!

This Christmas I was blessed with receiving a CabKing cabbing machine, which now enables me to create cabochons from stones for use in my jewelry much quicker, easier and soooo much cleaner than creating them using diamond bits and wheels on then end of a flex shaft.

As I was able to take off work the week following Christmas, I kept busy cutting, grinding and polishing stones on the machine and it’s an absolute dream! Pictured are some of the cabochons I created last week. A few are large (40×30 mm and 30×22 mm), but most are smaller, and there’s a good mix of high-dome, low-dome and regular dome cabochons in oval, pear, tear-drop, round, rectangular and free-form shapes…

Black Marble Cabs
Black Marble Cabs

Black Marble – Before the company I work for relocated their offices to a new building, apparently one of the “executive” desks with a black marble desktop didn’t make it out the door without hazard. Pieces of the shattered marble desktop were piled in a stack in the storage area, which also happened to be right next to our datacenter where many of my servers were housed. Before the pile of broken pieces was hauled off to the trash, I grabbed a few of the smaller chunks as I thought the black marble with white quartz veins could make some nice cabochons, and if nothing else give me some material to practice with when using my flex shaft for shaping and carving rock.

I still have plenty of that material left, so figured it would also be perfect for me to practice with on the cabbing machine, especially since I hadn’t cabbed on a machine in eons. Indeed it is perfect practice material, and takes a great polish, too! It’s not as hard as agate, though scratches from diamond bits used on a flex shaft always took a while to get out no matter what material I was working with, but on the cabbing machine’s graded diamond wheels it took no time at all!

By the way, the “gold swirls” running through the black marble pieces in the top row is a type of epoxy. I had noticed when slabbing chunks of this desktop material that the stone easily fractured, and when cutting or grinding though those areas would get that “epoxy smell”. My guess is that the large slabs were vacuum impregnated with an epoxy binder for stabilization, and the gold sheen epoxy added to the “executive look” of the desktop when cut through or exposed as part of the finish.

Carnelian Cabs
Carnelian Agate Cabs

Carnelian Agate – Back in ’79 when I lived in Apache Junction, AZ I did occasional odd jobs for a widow there, helping her to maintain her house and property, feed her ducks and geese, and other assorted chores. What made that work “extra fun” was that her husband had left behind an adjoining rock yard and storage shed as long as the yard itself. He used to sell all sorts of rocks, minerals, geodes and such behind their house, and had piles, crates and drawers full of the stuff.

I traded my work for rocks since she no longer kept the rock business going. A couple pieces of orange carnelian agate were among those that I traded work for, and a slab taken from one of the smaller pieces produced those cabs shown above. Kathy has already claimed the largest one, as she said it reminds her of cattails near a stream when viewed vertically. The bottom two are free-form, though the one on the right looks just like a jelly bean. I’ll have to do something fun with that one!

Chinese Writing Stone Cabs

Chinese Writing Stone – While growing up my parents used to keep several large “garden rocks” of 10-15 lbs. on our property as part of the landscaping. Some of the rocks were given to them, some were found, and I have no idea where they got the rocks these cabs came from. But, when they moved into a new house, they took the grey basalt rocks with white flecks of feldspar with them, laying them out among the trees around the new house. They passed away years ago, but before that house was sold, Kathy and I gathered up those rocks just because we thought they were so interesting, too!

It wasn’t until I saw a post on Instagram one day of some jewelry made with what looked like that very same rock we now had in our yard, and they called it “Chinese Writing Stone”. Looking through online sites that sold slabs of the rock confirmed it. I’ve seen some of the material for sell mostly with grey basalt, though sometimes the basalt can be a greenish or dark grey, but it’s definitely Chinese Writing Stone, the name given to the rock back in 1980 due to the pattern of the white phenocryst crystals within the basalt.

Apparently these rocks may have came from California around the Sierra Nevada foothills in the Auburn area, as that is where this type of Porphory rock with the white andalusite crystals (feldspar) was found when a highway was constructed there, but I certainly don’t know for sure. All I recall is seeing those rocks placed about the yards growing up from as far back as I can remember. Perhaps my parents liked to haul interesting rocks across the country when they moved, too?

I took a couple small slabs off the end of one of those “garden rocks” that I could get cut off with my tile saw, and am pleased at how nicely the cabs polished up. Now I have my eye on a few other “garden rocks” we have out in the yard! 😉

Unakite Cabs
Unakite Cabs

Unakite – Several years ago when Kathy, her mom and I were taking a walk along the Trinity River here in Texas, Kathy found a small but pretty piece of pink and green Unakite and brought it home for our rock collection. She gave me the OK to split it down the middle and from the two halves made the cabochons pictured above. It takes a very nice polish, and the mix of the pink orthoclase (feldspar) and green epidote with streaks of transparent quartz makes for some very pretty cabs that Kathy and I can use in our crafts.

Green Jasper, Sodalite and Tiger Eye Cabs

Green Jasper, Sodalite & Tiger Eye – The green jasper is from another “garden rock” we’ve had laying out in the yard, only this one originally came from Kathy’s mom’s yard. Her brother had most likely picked it up from somebody he knew in the past, and it was quite weathered and cracked but has some pretty greens and yellows mixed throughout. When I went to see if I could split off a small chunk to slice up, the rock actually broke into three softball-size pieces, including a couple small bits that fractured off. I haven’t cut any slabs from those larger pieces yet, but took the two small pieces and created a couple low-dome cabs from them.

I had a small thin piece of blue and white Sodalite that I had been toting around for ages (I can’t remember where it came from though), so I threw that on a stick and got a nice low-dome cab out of that stone, too, and is the perfect size for a ring or small pendant.

I also had a couple small slim pieces of Tiger Eye in the box along with the Sodalite. They were actually trimmings off of cabs that I had done back in the 70’s. Too big to throw away but too small for our rock and mineral collection, so when I went looking for more material to cut, I pulled those pieces out and got them cabbed up after all these years.

Turritella Agate Cabs

Turritella Agate – Turritella is an agate comprised of fossilized fresh water snails found in Wyoming. Mr. Estes, the math teacher that taught me how to cab rocks in a lapidary class, also back in the 70’s, gave me several rocks and slabs after the mini-session was over (read more on that under the Lapidary section of the About Silver Dimensions page ). A couple of those fist-size rocks gifted to me were Turritella agate. Being agatized fossils, it’s a hard material, but can still be tricky to work with as small fossilized pieces on the edge (girdle) of the cabochon can sometimes break off easily, necessitating a smaller cab than you had originally planned for.

Also, the “lay” of the snails that settled on the lake floor that later became the fossilized Turritella agate requires some thought in what direction you slice the chunk of stone. Cutting horizontally with the lay usually exposes more “side views” of the snail shells (much more interesting to see), whereas cutting slabs vertically will give you more “circles” from the snail shell cross sections.

Those chunks of Turritella were some of the many rocks that have been hauled around with me since then, and although I had cut a few very small cabs from them using the flex shaft and diamond bits for rings I had made, I found the material holds together much better when using the 6″ diamond cabbing wheels on the machine.

Also, as the material is agatized fossil, slight undercutting of the white shells occurred in some areas no matter how hard I tried to prevent it, so they didn’t take quite the “mirror polish” that regular agate material is generally known for across the entire surface. I think I might try using aluminum oxide instead of cerium oxide for the final polish next time to see if that helps alleviate that. If it does, I’ll take these cabs back through the 600, 1,200 and 3,000 grit wheels before the final polish for no change in size, only finish.

Mr. Estes also gifted me some pink and green Wyoming jade back then, which I also still have in my collection and will be cutting and polishing some pieces of that beautiful stone in the future. During that lapidary mini-class in the 70’s I had cut and polished a very nice narrow oval piece of Nephrite jade (I think possibly from Wyoming as well). I’ve never set that piece yet as my plans were to always set it in a gold ring (I think green jade and gold are a natural match). Working in gold is actually easier than working in silver, but requires solder matching the color and caret of the gold (both which are not cheap), but hopefully that day will come along before too long. I’ll be sure to post a blog entry on that ring and stone when I do, count on it!

Granite Countertop Cabs

Granite Countertop – Yep, there it is… some of the very orthoclase granite that was used for our kitchen countertops. When we bought our house in 2007, it had been remodeled with new granite countertops in the kitchen. Sitting in the empty garage were two large pieces of the countertop material that were cut out for the sinks. In the past I had taken those sink-sized slabs and squared them up using my tile saw to make cutting boards and trivets, and kept the excess material cut off the ends because, well, it’s pretty rock! 😉

Green Moss Agate Earrings

Sterling silver and green Moss Agate earrings

A pair of green Moss Agate and sterling earrings made to go with a matching pendant (see the previous post Sterling Silver Green Moss Agate Pendant for pics/info on that). The 12×8 mm pear-shaped stones are set in backless step bezels which were made from 16 ga. square wire set inside 28 ga. sheet.

For the earrings I also formed pear-shaped studs for the posts, connected to the bezels on the stones with 1.3 mm flat drawn cable chain so they will dangle.

To form the studs I rolled out a small ingot to 2.25 mm thick, cut it in half then super-glued the pieces together, back-to-back. By doing this it allows me to cut, file and form the studs so they match in size and symmetry. Once the forming is done, warming them slightly with the torch breaks the bond, and acetone removes any remaining glue residue left behind.

Here’s a shot of the back of the earrings (and pendant) showing the backless step bezels made to highlight the transparency and green mossy inclusions of these beautiful stones.

Green Moss Agate earrings and pendant, back sides showing stepped bezel.

Sterling Silver Green Moss Agate Pendant

Sterling silver and green Moss Agate pendant

A sterling silver and green Moss Agate pendant made to go with matching earrings (see the next post Green Moss Agate Earrings for pics/info on those). The 15×10 mm pear-shaped stone is set in a backless step bezel which was made from 14 ga. square wire set inside 28 ga. sheet, and uses a simple fixed bale made in 24 ga. sheet.

I’m currently waiting on chain for the pendant to arrive. It will also be of flat drawn cable chain, but in a heavier gauge than the 1.3 mm chain used on the earrings. Once it arrives I’ll use 16″ of it and solder on a lobster clasp and O-ring sized for the chain.

Here’s a shot of the back of the pendant (and earrings) showing the backless step bezels made to highlight the transparency and green mossy inclusions of these beautiful stones.

Sterling silver and green Moss Agate pendant and earrings, back side showing stepped bezels

Cuff Links

A pair of cuff links made from casts of the Scribner Ranch Brand using Delft clay. These were originally cast when making medallions for another project (that spanned a few casting sessions, so they were not both cast during the same session), but at just over 2 mm thick they were a little too thick for the medallions I was making.

Sterling Silver cuff links, Scribner Ranch Brand, work in progress (part 1).

When the first one came along, instead of filing it down to the correct thickness for the medallions, I set it aside thinking I might use it for *something*, since it was a clean cast and I didn’t want to waste the effort and clay sand used.

It was when a later casting came along that was also too thick (and a clean cast as well) that I found it was literally identical in thickness to the first, and the idea of a pair of cuff links came to mind. I thought they would be ideal for that, so ran with it.

For what it’s worth, they were thicker than my brass template as I had re-pressed the template into the clay to get a clearer definition of the brand, but on these two I had obviously pressed a little too hard, making the casts thicker than I wanted for the medallions.

Sterling Silver cuff links, Scribner Ranch Brand, work in progress (part 2).

I wanted these cuff links to be 100% handmade, so instead of using factory-made cuff link toggle bars soldered to the backs, I decided to use chain link and cross-bars that I had fashioned myself instead.

After cutting out the brand in an oval shape, I rolled out an ingot to the thickness I wanted to use for the cross-bars as square wire, and rolled up some round wire for the cuff link back, cross-bar and O-ring chain links (testing a couple sizes of chain link O-ring sizes and number of links needed to see what fit best when used with a cuff shirt).

I then soldered on the half-rings to the backs of the casts and the O-rings onto the cross-bars, then soldered the links for the chain connecting the two, leaving the end links un-soldered until they were ready to be attached to the back of the cast faces and cross-bars.

I followed that with cleaning up the cuff link faces and cross-bars after the soldering (much easier to do at this point than after everything is connected), soldered on the chain links and readied the pieces for oxidizing and final cleanup/polishing.

Oh, and the picture of the cuff link on the shirt in the collage didn’t turn out very well (I’m not much of a photographer)… it almost looks like brass, but it’s not! 😉

Men’s Cast Skull Ring

I am not really into skulls, but when a good friend of mine brought me an old chrome-plated steel ring he had, wanting to know if I could replicate it in silver and make the silver ring a size 11-1/4 instead of the 8-1/4 the steel ring was, I figured I would give it a shot.

Sterling silver men’s cast Skull ring, WIP collage 1

I wouldn’t ever recast other people’s work, but since his steel ring was completely unmarked and had the chrome plating flaking off in areas, I didn’t have a problem with it (and it would be a one-time replication for the owner of the original ring who would retain both rings if I was successful).

He gave me two old sterling rings he had bought in Mexico that he thought had fake stones in them to melt down and use for the casting, so I removed the “stones” from their bezels (yep, they were fake), and used that silver along with a little extra for the casting button.

I used Delft clay sand casting to cast it, utilizing Craig Dabler’s most excellent Acu-Pour casting flask and clamp set up (sorry for the shameless plug, but it really is great, and use his flask almost exclusively for my Delft clay casting now!).

It took nine tries to get a decent pour that I could use, as each pour up until then wasn’t complete. There would be a void or hole, usually around one of the eyes, that would just not fill completely.

I had tried relocating and/or increasing the the number of vent holes used in the clay to help air escape the voids as the molten silver took its place, and even made the sprue larger so the molten silver would enter the mold faster, but nothing seemed to help.

I was next going to try heating the flask rings with the clay mold in a toaster oven so the silver might not cool as quickly during the pour (one of Craig’s tips on his web site for gaining finer detail in casting with Delft clay), but on the ninth pour I got a cast where only the very bottom portion of the band did not fill completely. Since I would need to split the ring there anyway to make the ring three sizes larger, I ran with it.

A tip I discovered in an online video when casting rings in Delft clay is that when you have a ring that needs to be pressed into the clay upright (instead of pressed down horizontally as you would do with a simple band), is to fit a wooden dowel into the ring band, cutting its length just a little longer than the ring is wide. This allows the original template ring to be removed from the dowel, and the dowel fitted back into the clay, which then creates a void around dowel for the metal to flow into the negative space made by the template ring.

However, the wooden dowel only lasts 1-2 casts at most, since it gets heavily charred by the molten silver. On the second cast with that dowel, I tried filling the charred recessed areas with Delft clay, then wrapped it with paper to help bring it back to the correct thickness, rolling the dowel on the bench top to smooth things out, then glued down the edge of the paper to keep it from messing up the clay after releasing it and the ring from the mold.

That helped somewhat, but the dowel would continue to char and get more out of shape with each cast. After the second, and definitely the third cast it was almost impossible to get a smooth and even shape around the dowel again, no matter how hard I tried.

That’s when an idea came to me that what I could do is shape a wooden dowel (once more) to the correct size to fit inside the band, but only slightly smaller in diameter than I previously had to allow for a snug fit when wrapped with a strip of paper.

I readied another dowel and wrapped it in a strip of paper of the correct length and width, glued down the edge, and then slipped the dowel out of the paper tube created. I then filled the paper tube with Delft clay, carefully packing the clay with a smaller diameter dowel as it was filled.

Once packed, that gave me a solid, firm and correctly fitting clay “dowel” to use for the cast, and although it’s only good for a one-time use, it’s a *lot* easier to repeat that process than shaping a new wooden dowel or re-fitting a charred dowel to the correct size for each cast!

Sterling silver men’s cast Skull ring, WIP collage 2

Another area that gave me problems when molding the ring in the Delft clay was an undercut area beneath the teeth. Every time I would try to carefully remove the steel ring from the clay, as clay had filled that area, it would pull up and deform that part of the mold. I solved this problem by using some of my wife’s polymer clay, packing it into place on the ring and smoothing it out to fit flush with the rest of the band.

After baking the ring with the polymer clay in place at 120 degrees (F) to harden it, I then used clear fingernail polish to temporarily “glue” it into place under the teeth until after I was able to get a good cast. That worked perfectly, though I would need to file and form that area on the silver ring after casting to get the undercut back like it should be to match the original.

I poured a small ingot and rolled it out to the correct thickness for the band, shaped it over a dapping die of the correct size, then cut a piece out of it that would fit the area on the bottom of the band that I had cut out and readied for it to bring it to the correct size, and soldered it on. I then shaped that area down to match the edges and contour of the cast, finished the sizing, and filed and formed the undercut under the teeth. After cleaning everything up, then oxidizing and polishing, the ring was ready to go.

My friend was super-exited to get his ring. It fit his finger perfectly and actually looked great on his hand (he’s a much bigger guy than I am), and we both couldn’t have been happier with the final outcome.

The weight of the ring came out to .813 troy oz., only .052 troy oz. less than the combined weight of the two rings he gave me to use for the silver, so it was virtually an even trade-off with the silver used on the two rings he gave me to melt down.

In fact, it was not only heftier than the steel ring I used for the mold due to differences in metal type and ring size, but the steel ring was hollowed out under the skull’s forehead, whereas on the silver ring the underside of the skull took on the shape of the round dowel, and therefore had no hollowed-out area.

Sterling Silver and 2mm Chocolate CZ Eternity Ring

Sterling silver Eternity ring set with 24 2mm Chocolate CZ’s

One type of ring that I have been wanting to try to make is an “Eternity” ring, where a ring band’s circumference is wrapped with evenly-spaced faceted gems. I had seen a lot of online videos of professional and master smiths creating them in a variety of styles using various tools ranging from burs to gravers, so I figured that I would give it a shot with what tools I have (jeweler’s saw, burs and files).

I had purchased a packet of 2 mm round Chocolate Cubic Zirconia stones back in 2014 to practice gypsy-set flush mounting of faceted gems with, and still had plenty of them left, so I dug those out to use. That way, if the ring turned out to be a total failure and needed to be scrapped, I wouldn’t run the risk of damaging expensive stones when retrieving them (and at 15 cents each I wouldn’t exactly be breaking the bank, either). 😉

I also had a little bit of square wire left from an ingot I had poured and rolled out for toggles on some cuff links I made a while back, so I rolled that out a little more until it was about 2.5 mm square, trued it up with a file and made a band in size 6 3/4 for the stones to be set in.

Determining the number of stones I should use so they would be evenly spaced around the band with enough gap between them (but not too much) was a slight challenge in itself. I have no idea if there’s a standard way of figuring this part out for eternity rings or not, so it took a bit of playing around with a calculator as well as laying the stones out, table down, around the ring on the bench for a rough “guess-timate”.

Sterling silver Eternity ring with CZ’s work-in-progress

I eventually settled on using 24 stones, so with caliper and dividers I marked off the band and got busy drilling holes, working with the saw, burs and a round file to make the seats, flutes and channel needed to create the necessary settings and “prongs” for the stones.

As I had never made an Eternity ring before, and am NOT a professional setter of faceted gems by any means (having only set faceted gems since I started silversmithing back up in 2014), I feel I still have a lot to learn in that area but was really pleased with the result.

It was a very fun and challenging ring to make, I got a lot of really nice practice in, and although it’s far from perfect in my eyes, just seeing the look on Kathy’s face when I handed the finished ring to her was priceless. 🙂

Sterling Silver Lover’s Knot Ring

To break in a newly cleaned and organized bench after Kathy had made me some heavy-duty shallow boxes to help organize my bench tray, I made this “Lovers Knot” ring for her out of 14 ga. sterling wire.

Sterling silver wire Lover’s Knot ring

I had seen one like it in a catalog, but it was a cast ring and not one fabricated from wire like this one. I hadn’t made one before, so I know a couple things I’ll change in the process when I make more of them, but it sure was a fun little ring to make!